
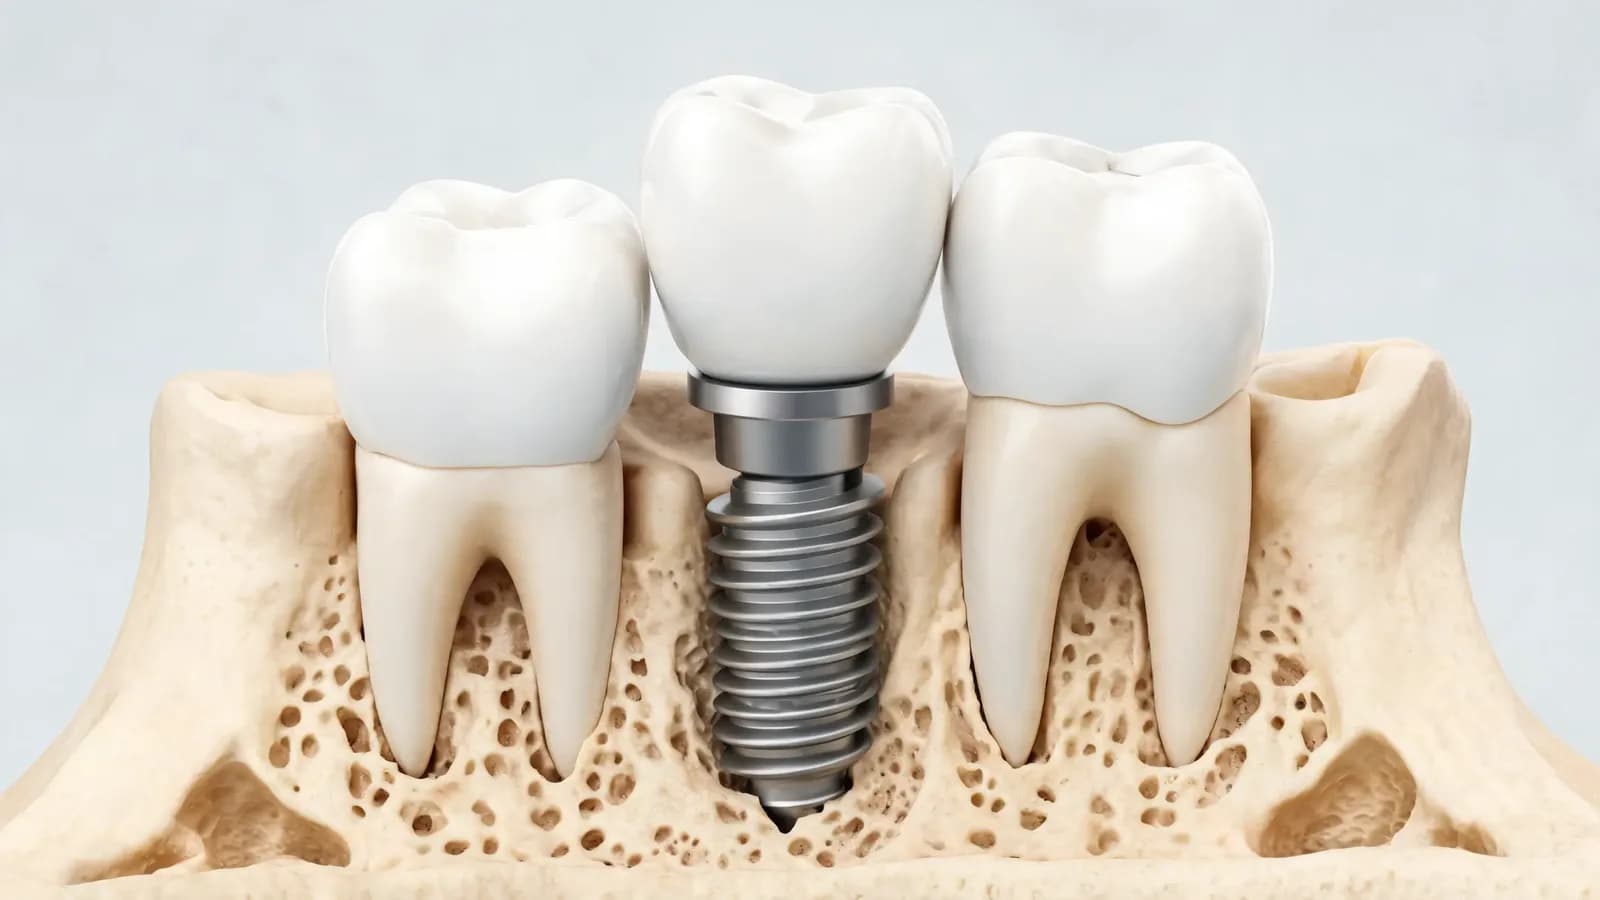
A dental implant replaces a missing tooth from the root up. It is one of the most reliable ways to replace a tooth, but it is also a process with several stages, and it helps to know what those are before you start.
This guide walks through dental implant treatment the way it usually unfolds with an oral surgeon: the consultation, the planning, any bone grafting, the surgery itself, healing, and the handover to your dentist for the crown. Every case is a little different, and your own plan will be explained to you in detail, but the overall sequence is very consistent.
What an Implant Actually Is
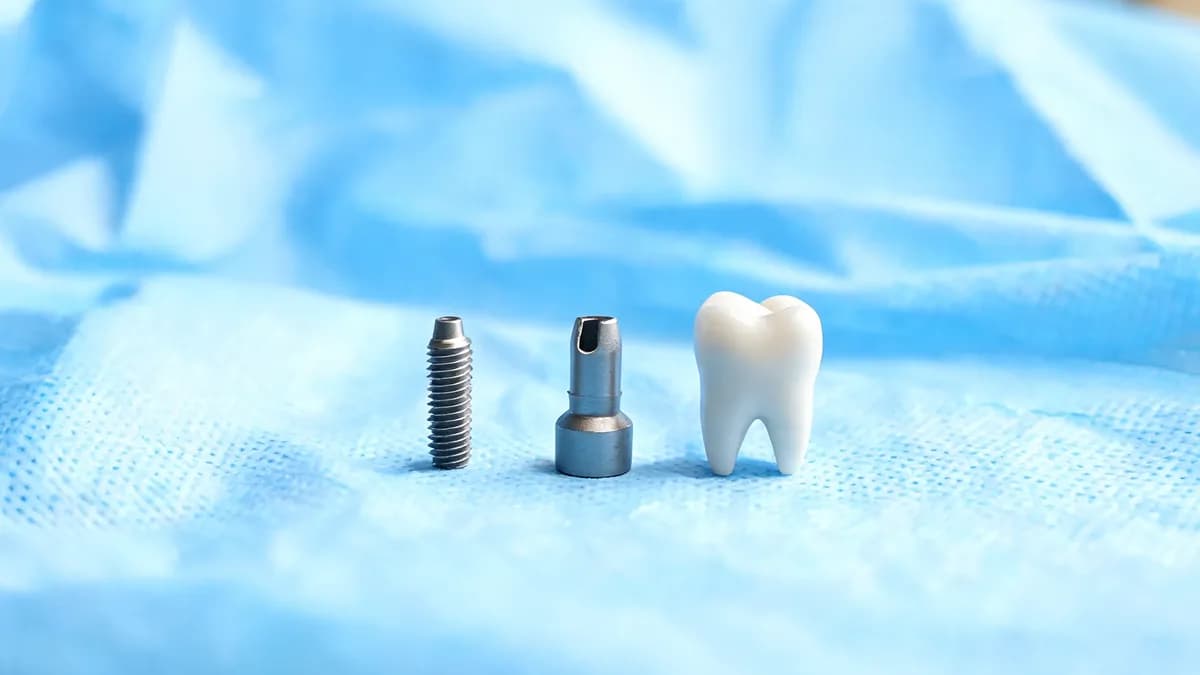
An implant is a small titanium post that takes the place of a natural tooth root. Bone grows directly onto its surface in a process called osseointegration, which is what gives an implant its stability. Once the implant has integrated, your restorative dentist attaches a connector called an abutment and then the crown, the part you see and chew with.
Because the implant stands on its own, the healthy teeth on either side are left untouched. That is the central advantage over a conventional bridge, which requires the neighboring teeth to be reduced so they can support the replacement.
Implants are often the right answer when a single tooth is missing or cannot be saved, when a bridge would mean cutting down healthy teeth, when a denture has become loose as the ridge has shrunk, or when several teeth in one arch are failing at once.
Step 1: The Consultation and 3D Planning
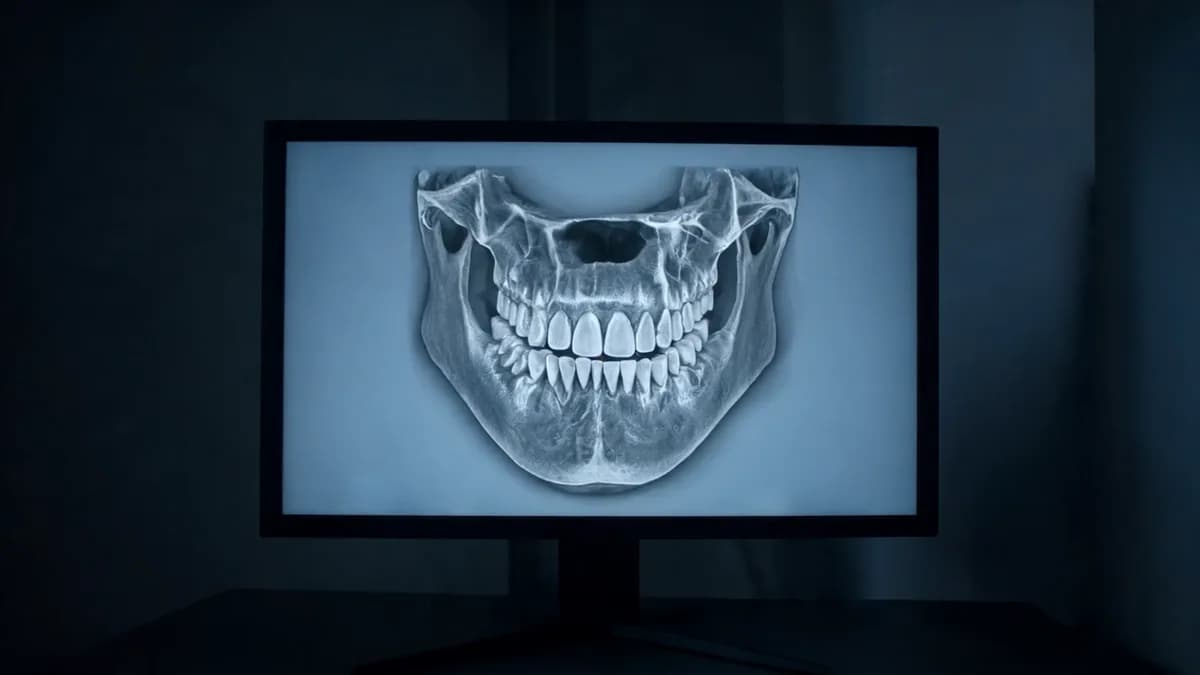
Implant surgery is a planning exercise before it is a surgical one. At the consultation we review your medical history, examine the site and take imaging.
A cone beam CT scan gives us the height, width and density of the bone where the implant will go, and the position of nearby structures such as the sinus and the nerve. From that information we work backwards from where the new tooth needs to sit, rather than from where the bone happens to be.
This is also when you hear about the timeline and the options for anesthesia. Placement is done under local anesthesia, with sedation available. You can read about the choices on our anesthesia and sedation page.
Step 2: Bone Grafting, If It Is Needed
An implant needs enough bone around it to integrate. When a tooth has been missing for a while, the bone that held it begins to shrink, and most of that loss happens in the first year. Gum disease, infection and long term denture wear can speed it up.
If the site is short of bone, grafting comes first and the implant follows once the graft has matured. Larger grafts are typically given four to nine months to mature before an implant is placed into them. Our bone grafting page explains the different types.
Where the anatomy allows it, extraction, grafting and implant placement can sometimes be combined into a single appointment. Whether that is possible depends on the site, and it is something we assess from the scan.
Step 3: Placing the Implant
On the day of surgery, the area is numbed, and sedation is given if you have chosen it. A small opening is made in the gum, the site is prepared precisely according to the plan, and the titanium implant is placed into the bone.
For most single implants, the procedure is shorter than people expect. Most patients describe the recovery as easier than an extraction. If you have sedation, bring a responsible adult to drive you home.
You are not left without a tooth in a visible area. A temporary is arranged so the space is never left visibly open in the front of the mouth while the implant heals.
Step 4: Healing and Integration
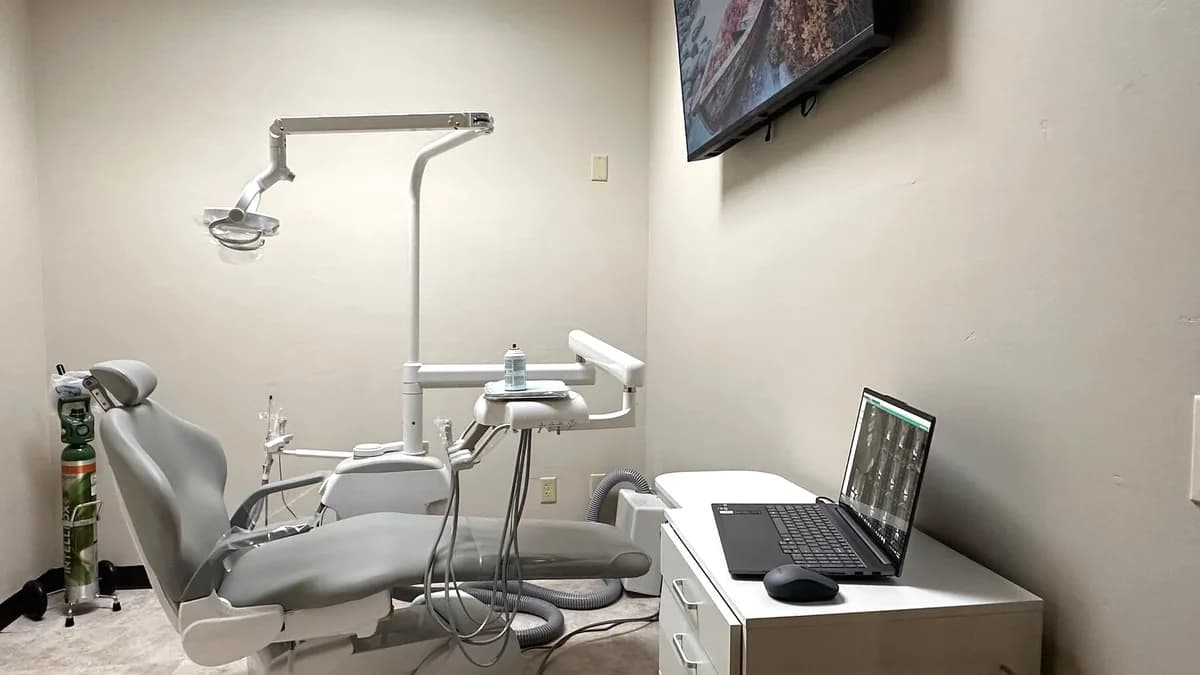
Integration usually takes three to six months, depending on the site and whether grafting was needed. During that time the bone grows onto the implant surface and locks it in place.
The first few days after placement are usually mild: some swelling and tenderness that settles with the medication and instructions you are given. Soft foods, good oral hygiene around the site, and avoiding smoking all help healing.
If anything does not feel right during healing, such as swelling that gets worse instead of better, call the office rather than waiting.
Step 5: The Crown From Your Dentist
Once the implant has integrated, the surgical phase is complete. We hand back to your restorative dentist, who attaches the abutment and makes the crown. We plan and coordinate that handover with your dentist from the start, so the sequence is clear to everyone.
An integrated implant is designed to be permanent. Long term success depends on the same things natural teeth depend on: good hygiene, healthy gum tissue and regular professional care.
The American Association of Oral and Maxillofacial Surgeons has a helpful overview of dental implant surgery if you would like more background.
If you are considering an implant in the Bakersfield or Valencia area, you can request a consultation. If a tooth is due to come out first, our post on socket preservation explains how to protect the site for a future implant.
Common questions
Integration usually takes three to six months after placement. If a bone graft is needed first, add the time for the graft to mature.
Placement is done under local anesthesia, with sedation available. Most patients describe the recovery as easier than an extraction.
Not in a visible area. A temporary is arranged so the space is never left visibly open in the front of the mouth.
Your restorative dentist. The oral surgeon places the implant and manages the surgical phase, then hands back to your dentist for the abutment and crown.
An integrated implant is designed to be permanent. Long term success depends on hygiene, healthy gum tissue and regular professional care.
Nothing in this article replaces an examination. What is right for you depends on your imaging, your medical history and what you want out of the result. Call OAKS in Bakersfield or Valencia, or request a consultation and we will set it out in plain language.
More from the blog
Socket Preservation: Why a Bone Graft at the Time of Extraction Matters
When a tooth comes out, the bone that held it starts to shrink. A socket preservation graft placed at the same visit helps keep your future options open.
September 14, 20265 min read
Your First Oral Surgery Consultation in Valencia or Bakersfield: What to Expect
A first visit to an oral surgeon is mostly about answers. Here is what to bring, what happens in the room, and what you should know by the time you leave.
September 21, 20265 min read